Sunday, January 27, 2008

Badger Dark Ale - Bottling

So I took another SG reading this morning and it was still at 1.016, which means I was ready to bottle.

I would have to say that the flavor has improved, just over the short amount of time since I last tasted. It still has that even balance of maltiness, bitterness, sweetness, hoppiness and alcohol. I think it's actually gotten a little maltier though so it's a little more bitter than it is sweet now, but I like that. Body is medium, which is mostly because of the low attenuation of the yeast. It's still kind of cloudy, but that's more of an aesthetic thing than a flavor thing.

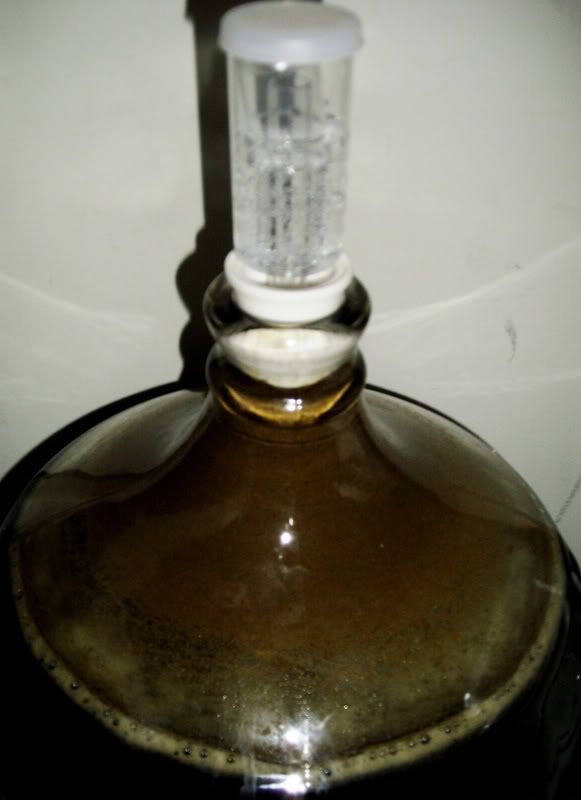
Since the SG didn't change from the last reading, my FG (final gravity) is 1.016 and thus the ABV is 3.15%.


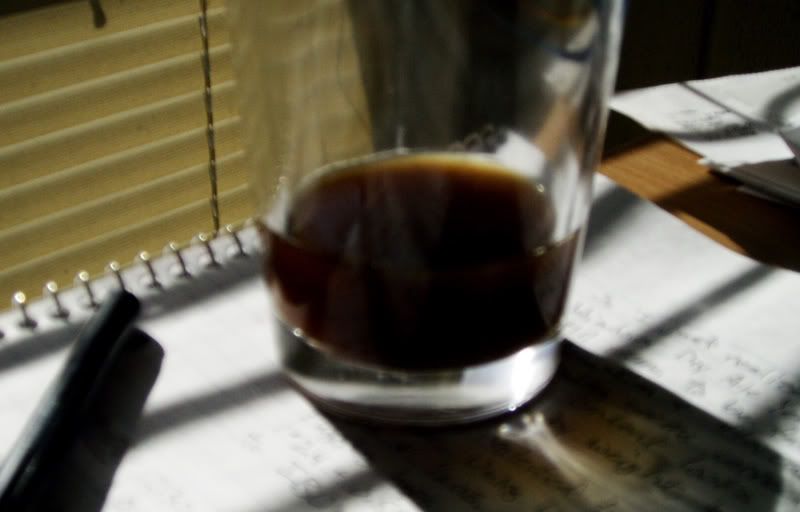
Here's the sample I pulled, you can kind of see how it's a darker beer, although a fair amount of that is due to the cloudiness.


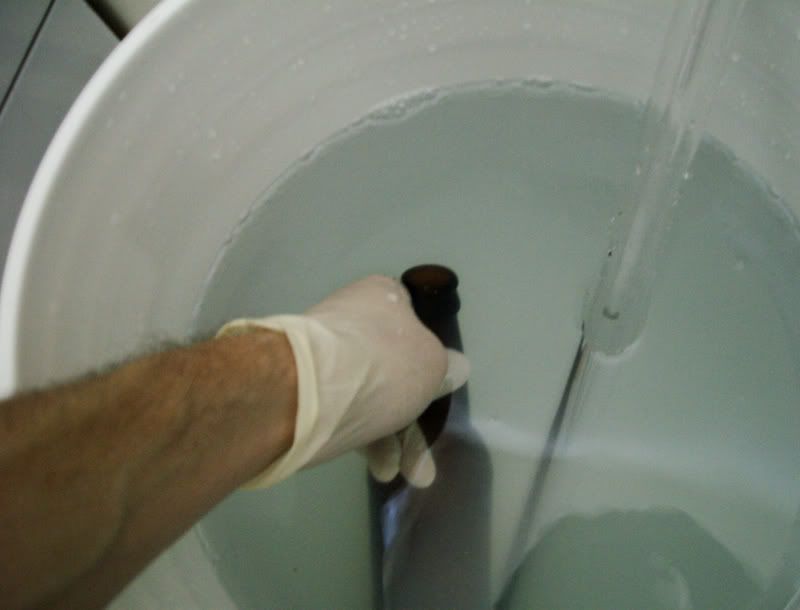
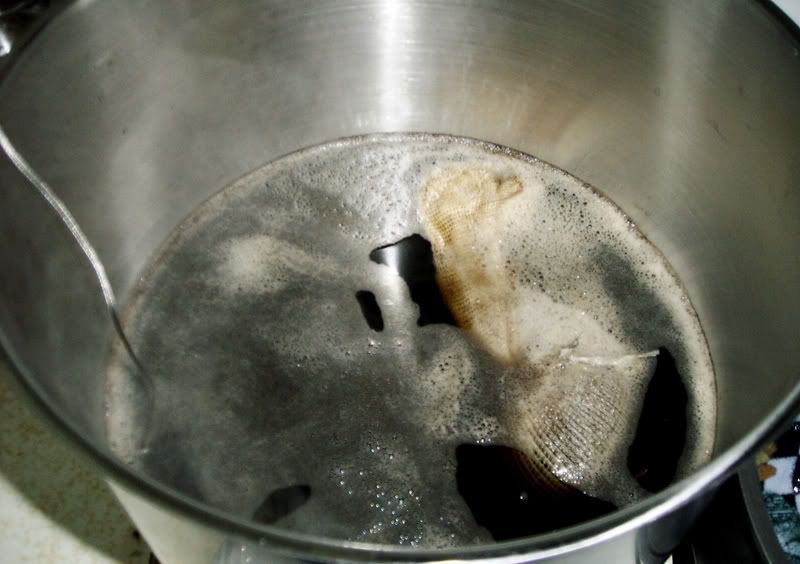
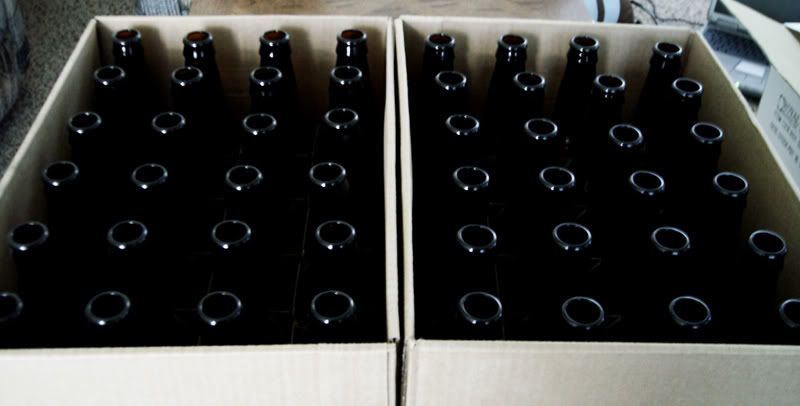
Here I am sanitizing the bottles. This didn't take too long as I could do two bottles at a time. (Other arm not seen b/c it is taking the picture.)

At this point I boiled a cup of corn sugar with 2 cups of water. This will be added to the bottling bucket so that the yeast have something to munch on in the bottles and produce carbonation. Sorry, no picture, just imagine boiling water and you've got it.


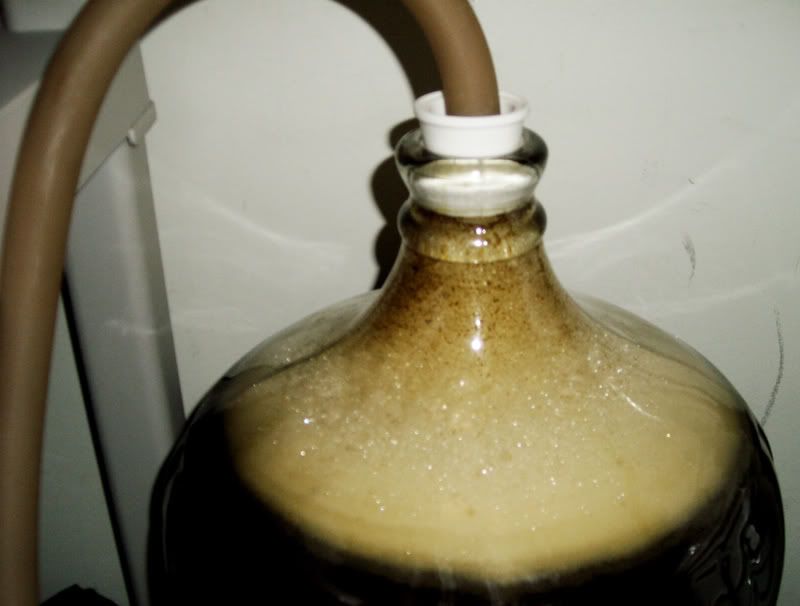
Now I'm siphoning the beer from the carboy to the bottling bucket to which I've already added the cooled corn sugar solution. Unfortunately, the tubing I have has an inner diameter which isn't quite small enough to create a good seal so my auto-siphon wouldn't even work. However, I wrapped the end of the auto-siphon with some tape to get a more snug fit, which allowed the auto-siphon to work, but it leaked some air into the beer, which is not entirely desirable.


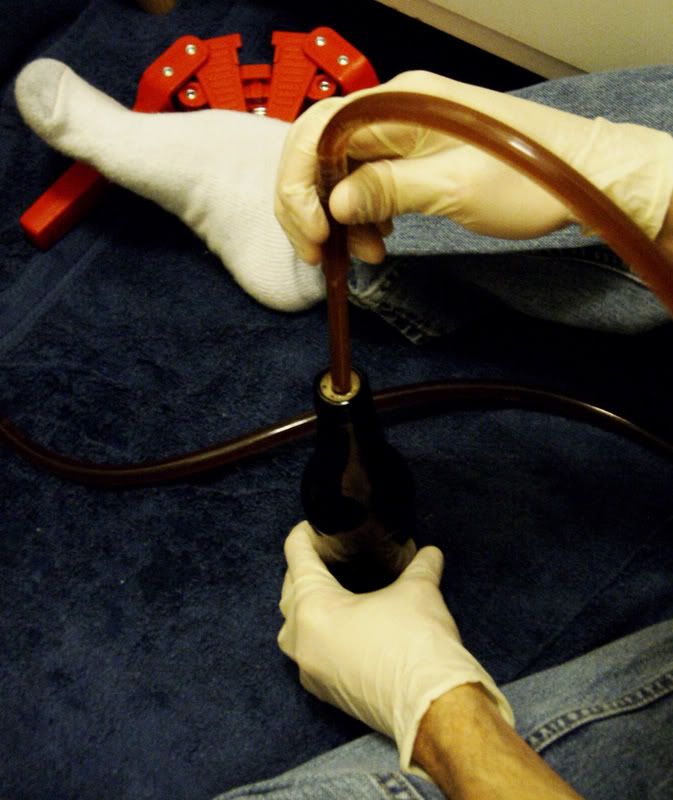
Here I'm filling the bottles, one by one. The bottle filler is spring-loaded so you press it on the bottom of the bottle and the beer starts flowing. If you fill it to the top it leaves the right amount of air space in the top of the bottom once you remove the filler.

I had the same problem with the tubing on the bottle filler as the auto-siphon, which again I fixed through the application of tape to the filler. I think before I bottle my next batch I will have to go out and get some small hose clamps; the tape works, but it isn't an ideal solution.


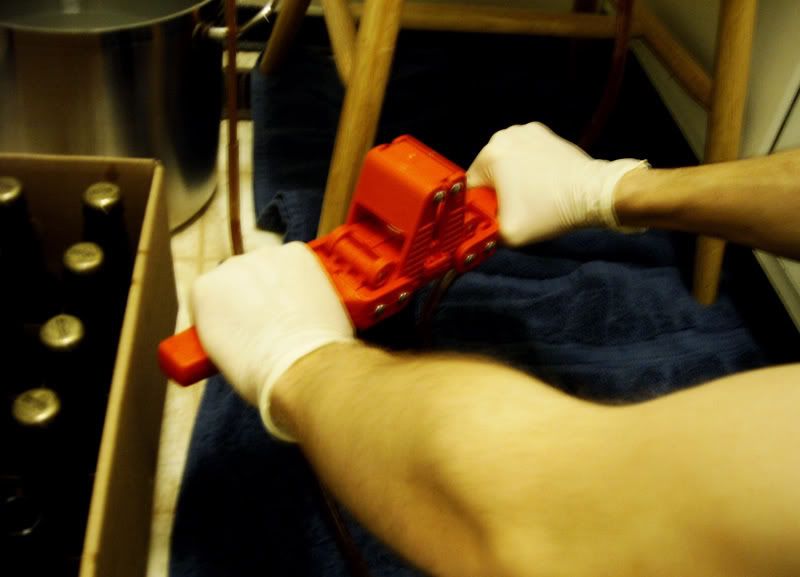
Here I'm capping the bottles. I decided to throw the bottle caps in the bottom of the 4 gallon pot of sanitizer, which meant that every time I fished one out, I would get sanitizer inside my glove. Next time I will put my caps in a somewhat shallower vessel.


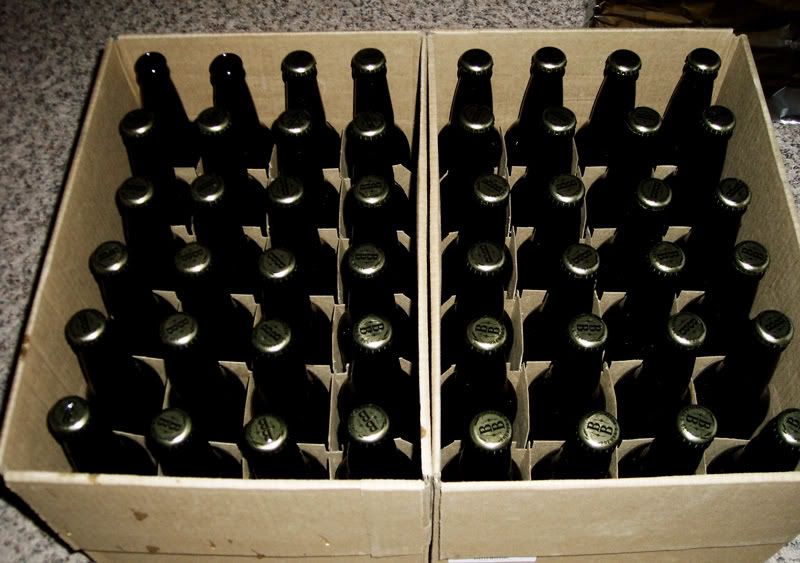
Yep, that's 46 bottles in all. It's quite satisfying to have them all capped up. Now to wait a week and hope I didn't just make a bunch of bottle bombs.

Like I said before, I'm a little concerned about the oxidization that occurred because of my tubing issues. I think I should be ok as beer is pretty resilient, but only time will tell.

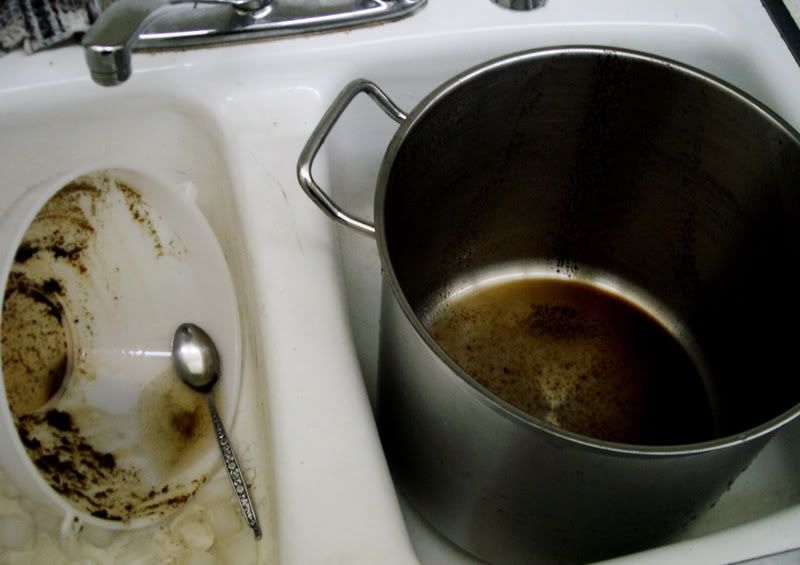
Bottling was not very hard work, just rather tedious. It'll definitely go faster next time now that I know what to do (and what not to do). Cleaning up after is probably the hardest part, what with all the sediment and yeasty bits left in the carboy and the bottling bucket.

That's all for now. I'll post again in about a week when I crack one of the bottles open.

Friday, January 25, 2008

Badger Dark Ale - First Taste

So I've been somewhat concerned that I might have a stuck fermentation. As of now, the bubbling frequency is around 5 minutes. But after a little research on the type of yeast this recipe uses (Windsor Dry Ale Yeast) I found that it is a pretty fast fermentor. Since fermentation has pretty much all but stopped I decided to go ahead and take a SG (specific gravity) reading, which ended up being 1.016. Apparently the Windsor strain has medium-low attenuation (attenuation is basically what percentage of sugars the yeast will ferment), so this reading seems about right (remember that my OG was 1.040).

Of course, you are never supposed to return the sampled beer to the fermentor, lest you sully it with other microorganisms, so you give it a taste. I was actually pleasantly surprised with how it tasted. It's a little sweet (again, becuase the yeast have left about 30% of the sugars), but a little bitter when you move it to the back of your tongue. The alcohol content is pretty low (more on that later) and it's not very hoppy at all (more on that later as well). It was not quite as complex as I was expecting it to be and of course it's completely flat, but I think by the time it's done aging in the bottle (about a week), it should be pretty good.

The beer was also rather cloudy, which is because the Windsor yeast has medium-low flocculation. Again, I hope that will improve somewhat before and after I bottle. At this point I think I will bottle on Sunday, hopefully things will improve a little by then.

Right now the alcohol by volume is at 3.15% and I don't really expect it to increase much. Also, since I used 1 oz. of 2.4% alpha acid Tettnang hops and 0.5 oz. of 4.0% alpha acid U.K. Fuggles hops, the beer will have a bitterness of 4.4 HBU (homebrew bitterness units) which is about 18 IBU (international bitterness units). For reference, a typical American "lite" beer is about 10 IBU and an IPA is about 50 IBU.

Sorry about no pictures, I drank the beer before I thought of taking a picture of it. I'll post again on Sunday at the latest, even if I don't end up bottling. I might try brewing my next beer on Sunday as well, but I'm thinking I might want to be somehwat more selective with my yeast choice, so we'll see.

Wednesday, January 23, 2008

Badger Dark Ale - Decreased Activity

This morning I awoke to find that the activity in the carboy had decreased and the foam had subsided so I was able to put on the fermentation lock as seen below. Air is bubbling out of the fermentation lock every 30 seconds or so. At this rate I believe I should be able to bottle sometime early next week.

Tuesday, January 22, 2008

Badger Dark Ale - Initial Activity

I woke up at 9 this morning to find this:


The image doesn't do it justice, but you can see little bubbles moving up the sides of the carboy. There is also a small amount of foam and muck in the bottom of the blowoff container (a.k.a. the plastic gallon jug). The carboy's temperature has gotten up to 66F (ambient temperature is around 68F). The foaming should subside sometime in the next two days and then I can put the fermentation lock on. I'll post another update then.

Monday, January 21, 2008

Badger Dark Ale - Brewing

So today I finally took the plunge and brewed my Badger Dark Ale kit. Here's a somewhat brief account of how it went down. There aren't a whole lot of pictures because it's hard to take pictures when you're in the middle of pouring the wort into the fermentor, for example.


The first step was to sanitize everything, so I filled my bottling bucket with 5 gallons of water and some One Step sanitizer. The nice thing about one step is that it isn't terribly harmful and it doesn't require rinsing. I also found out that my auto-siphon doesn't work when the water level is too low, so I had to siphon water from the sink to my bucket the old fashioned way.


Next was filling the stainless steel pot with water and adding the steeping grains...


...then waiting for it to heat up to 170F. Luckily my digital thermometer has a temperature alarm so I don't have to babysit it.


Of course, you have to drink beer while you're making beer. Still waiting on that pot to reach 170F. (I wasn't drinking two beers, I had my friend Greg come over and hang/help out.)


The pot has finally reached 170F, but now I have to try to hold it there for 5 minutes. On my electric stove top. Yeah. Needless to say there was a lot of knob turning and lifting of the pot.


Meanwhile, the bag of dark malt extract is being heated up so that it will pour easier.


The extract has been added and now we boil.


Boiling!

So once the pot is boiling the hops are added (1 oz. of Tettnang). There is no picture of this because as soon as the hops were added the pot really started to foam up and more lifting and knob-turning ensued until it was under control.

When the wort was finished boiling (there was 0.5 oz. of UK Fuggles hops added right at the end for aroma) it was placed into the sink which was full of cold water to which ice was added. I was surprised at how fast the ice (two 2 gallon bags full of ice cubes) was able to cool the wort. It got down to about 80F in roughly 5 minutes.

While waiting for the wort to cool, we sanitized the carboy and then poured 3.75 gallons of cold drinking water into it. Then the wort was poured into it. I got this nice big funnel at Friar Tuck and it has this nice fine-meshed filter at the bottom. I think it's too fine-meshed however, because it took awhile to pour all the wort into the carboy. I had to get a spoon to sort of stir the wort around in the funnel to get it to drain faster. I think next time I'll just use my somewhat larger sieve.

Then the yeast was hydrated, but that takes 15 minutes, so a hydrometer reading was taken while waiting for that. It read 1.04 and the carboy temperature was about 63F.


Finally, the yeast was pitched, the stopper put on, the carboy moved to my closet, and the blowoff hose attached. Now to play the waiting game.


The whole process is actually rather messy. Also, malt extract syrup is quite sticky, but not too difficult to clean up with some hot soapy water.

The whole process took about 3.5 hours, from the addition of the steeping grains to the attachment of the blowoff hose. There are a few things I will do differently next time, but overall I think I was well prepared.

I'll be sure to post a picture or two when (hopefully not if!) there starts to be some activity, so stay tuned.

Saturday, January 19, 2008

Equipment

Here's my equipment. I apologize for the lack of focus in some of these pictures; for some reason I was unable to keep my arms still.


A. 6.5 gal. Ale Pail/Bottling Bucket and lid. This can be used as the primary fermentor in a two stage fermentation and doubles as a bottling bucket (note the spigot).
B. 5 gal. glass carboy. This is my main fermentor, complete with temperature strip.


A. Hydrometer and tube.
B. Fermentation lock.
C. Rubber stopper for carboy (fermentation lock fits in here).
D. Sanitizer. I think it's like OxyClean or something because it says it uses oxygen to do its sanitizing and doesn't require rinsing, which is nice.
E. Pipette. I have a few more of these; they're mainly for taking samples for hydrometer readings.


A. Blowoff hose. This attaches to the rubber stopper and will feed into separate container for the first couple of days of fermentation when the carboy is "foaming over".
B. Funnel. Aids in pouring liquids into the carboy.
C. Siphon hose.
D. Funnel filter. This fits nicely in the bottom of the funnel and is pretty finely meshed so you can sparge your hops and filter out other solids.
E. Auto-siphon. A couple pumps is all it takes to get a nice siphon going.


A. 21" stainless steel "charismatic" spoon. I'm not sure why they call them "charismatic". Google isn't much help on the topic. I guess it has something to do with the length of the spoon.
B. 4 gal. stainless steel pot. It's pretty high quality, it has a thick base with a layer of copper to prevent scorching. Very sexy.
C. Digital thermometer. Reads from 0C to 200C. Will mostly be used to monitor wort temperature.


A. The aforementioned book, instructions specific to the ingredient kit, and general instructions from the aforementioned shop.
B. Steeping grains and "sock". These will sit in the wort pot as it heats up and will be taken out before the malt extract is added.
C. Tettnang hops, for flavor.
D. UK Fuggles hops, for bitterness and aroma.
E. Corn Sugar, which will be dissolved and added just before bottling to promote carbonation in-bottle.
F. Dark malt extract.
G. Dry ale yeast.


A. Bottle caps. Lots of them.
B. Bottle capper. Allison informs me that these are a lot of fun. I sure hope so.
C. Bottle filler. It's spring-loaded, so you just push it against the bottom of the bottle to get things flowing.
D. Bottle brush.
E. Carboy brush.


And finally, 48 12oz. bottles. I have some extras hanging around in case I have more beer than can fit in these.

That's it for now. I still intend on brewing on Monday, so a post describing that experience shall follow.

Monday, January 14, 2008

An Introduction

This blog's purpose is to chronicle my foray into the world of homebrewing. I've been kicking around the idea for awhile and after writing a paper on yeast last semester I decided to take the plunge.

I received The Complete Joy of Homebrewing for Christmas and after reading the introductory chapters a few times I was ready to assemble my equipment from the Wine and Hop Shop in Madison, WI. I bought just about everything there, except for a stainless steel pot, bottles, and some odds and ends. I plan on completing my assemblage of equipment this week and hopefully brewing on Monday. Another post documenting the process, complete with pictures will follow later.